NTP Desk Clock
I kicked off this project as I wanted a display on my desk that feeds me information from my 'smart home' running Home Assistant.


I kicked off this project as I wanted a display on my desk that feeds me information from my 'smart home' running Home Assistant. I used to have a Raspberry Pi with the 7 inch touch-screen displaying a Home Assistant 'dashboard', but I found it was just too much to have running all the time (and then I found something else to do with the Pi!).
This clock uses a 4-piece MAX7219 8x8 display matrix from eBay, connected to an ESP8266. The ESP8266 connects to WiFi and subscribes to the 'nodeNTP/msg' MQTT topic. The ESP also gets the time from our NTP server.
You could use this message 'ticker' to display anything you want... Stock market info, local weather, 3D printer status, network download speeds, currency rates (cryptocurrency, too), reminders, alerts, travel alerts, public transport ETAs, the number of Plex Transcodes on your server, incoming call alerts.
This project uses MQTT so the data needs to be pushed to it, but you could alter the code to suit your needs. The possibilities are endless!
As the ESP8266 doesn't have a built in Real-Time Clock, it queries the NTP server... a lot... as in, every time it loops. Our NTP server has answered over 87,000 requests in the past 24 hours (not all from the clock though!).
With this in mind, you should definitely do one of two things if you plan to make a clock like this for yourself;
1. Host your own NTP server on your network (see here!). This way, you won't be reaching out to a third party NTP server all the time, or,
2. Add an RTC to your ESP8266 to reduce the number of NTP requests required.
Parts required
1 x ESP8266
1 x MAX7219 (with jumper cables & pins, normally all come as a set. You can also join more than one, but you might consider power draw at that stage)
1 x 3D printed case
1 x USB Power connector and microUSB cable
ESP8266 Code
I typically use the Arduino IDE to write and upload code to the ESP8266. The code can be found on GitHub;
 JXGA
JXGA
Once you obtain the code in the .ino file, you'll need to insert details of your NTP server, WiFI, MQTT broker and check that the number of connected ESP8266 displays is correct.
A number of other libraries are required and links provided on GitHub.
You might notice that the bottom line of the MAX display is empty - this line is reserved for descenders (letters with a portion below the baseline), such as g, j, p, etc. You can see an example of this on the gif below in the MQTT section.
Building the clock
I 3D printed a case for the clock. I wasn't the first to make a clock like this, so there are a few examples on Thingiverse!
 Thingiverse.com
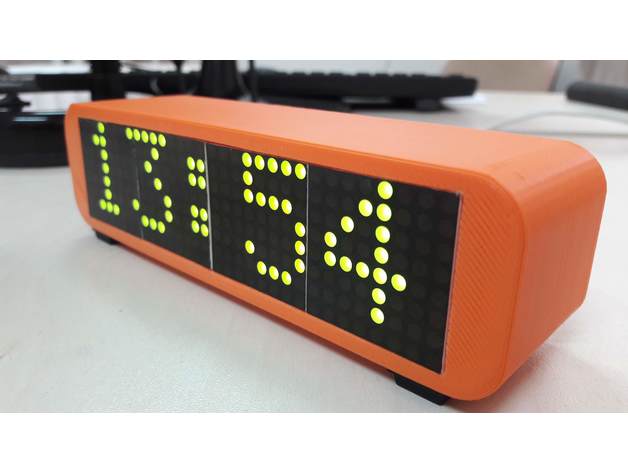
Soldering header pins is normally required with the MAX display or the ESP8266. Depending on the case you decide to use, you may need to solder some 90° header pins to allow the dupont cables to connect a bit easier.
If you are new to electronics projects, I'd suggest spending some time getting used to soldering. There are loads of YouTube videos out there that will help! You don't need the latest and greatest equipment either, but check out some reviews before getting a soldering iron - not all irons were created equal! Having an iron with a decent (replaceable) tip and temperature control will really help reduce frustration as you learn.
The pin connections are made as follows:
ESP D2 - MAX CS
ESPD5 - MAXCLK
ESPD7 - MAXDIN
MQTT Messages
I send MQTT messages to the clock using Home Assistant. I have a handful of them set up, and they typically trigger as an event happens, then every 15 minutes.
The example in the animation above shows the temperature from our reptile tank then the outdoor temperature (both of these are sensors in Home Assistant).
Some other examples of MQTT messages include the low level sensor in our hydroponics tanks, 3D printer completion or error messages, alerts on the UniFi controller and door sensors in our house.
Here's an example of a Home Asssistant automation that you can customise to suit your needs!
  - alias: OctoPrint Notification
    trigger:
      -  platform: state
         entity_id: sensor.anycubic_current_state
         from: 'Printing'
    action:
      - service: mqtt.publish
        data:
            topic: "nodeNTP/msg"
            payload: "3D Print Complete!"